 Back
Back
Productswheel aligners
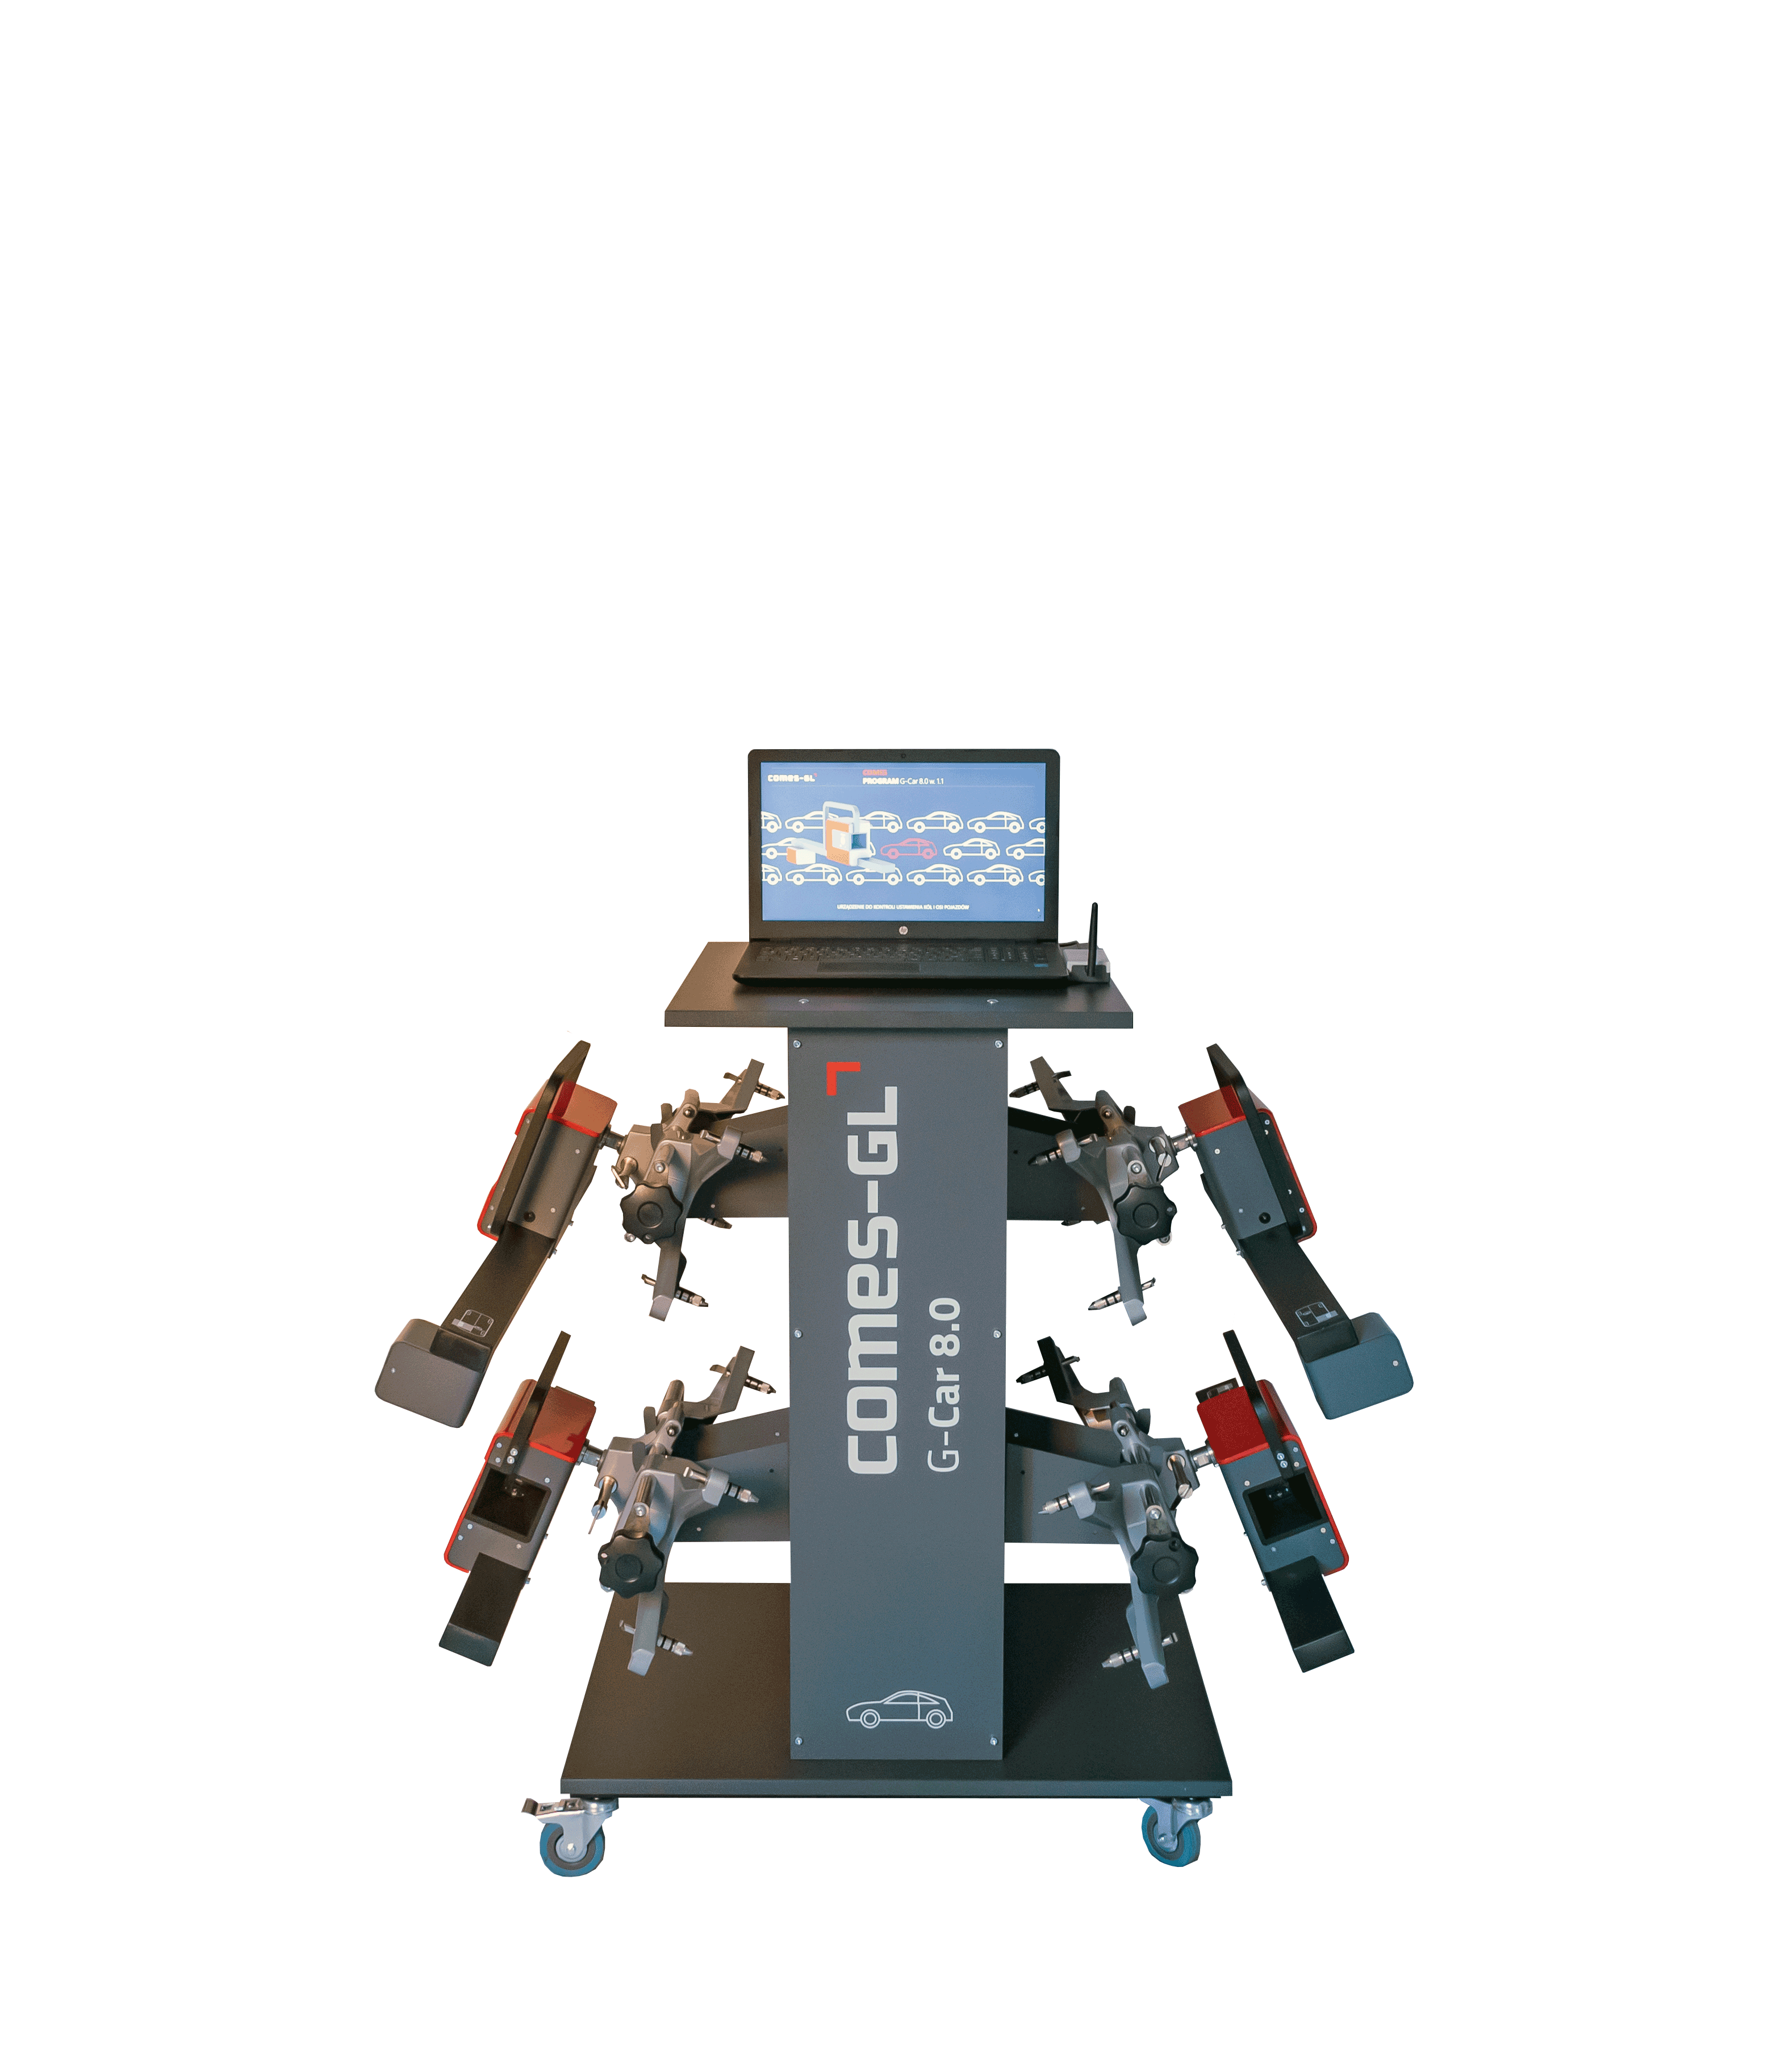
G-CAR 8.0
-
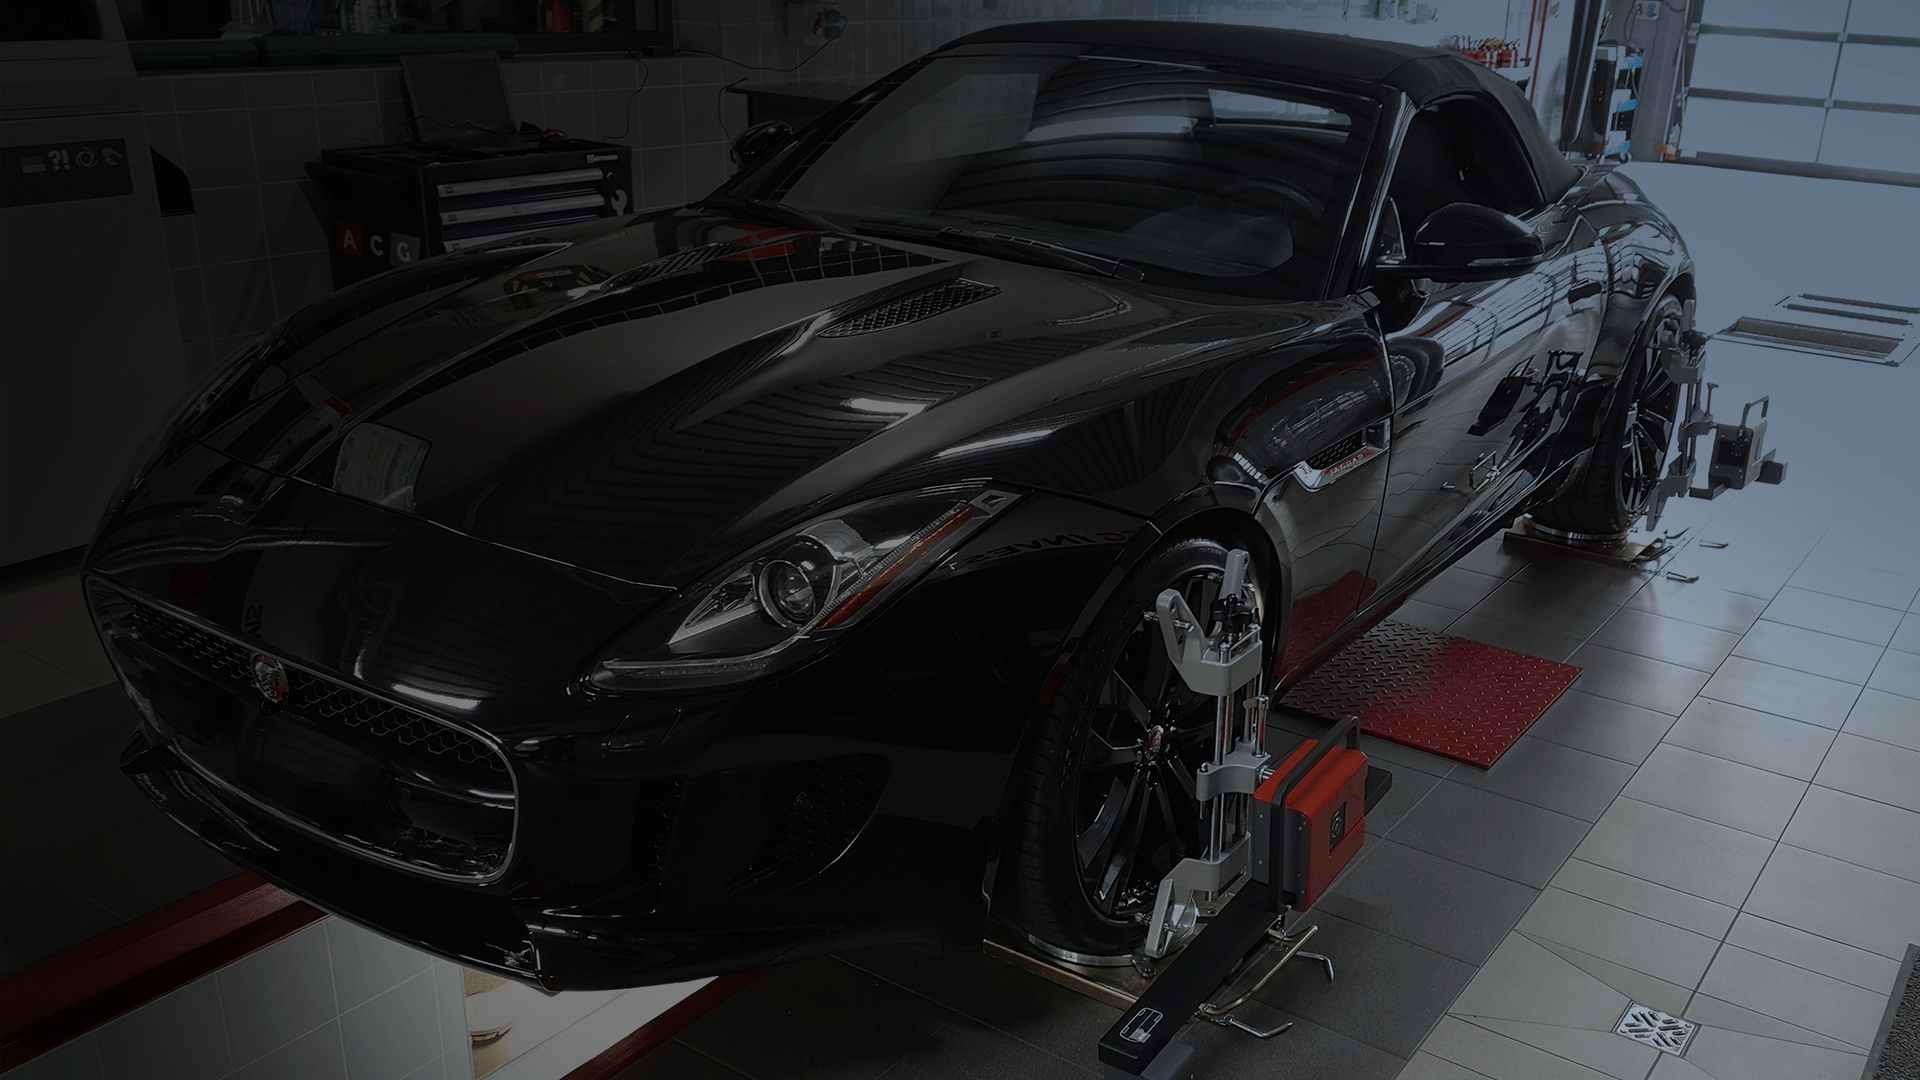
COMES G-Car 8.0 is a computer CCD instrument for checking the alignment of wheels and axles of vehicles with GVWR up to 3.5 t. The device enables measurement of passenger cars and vans.
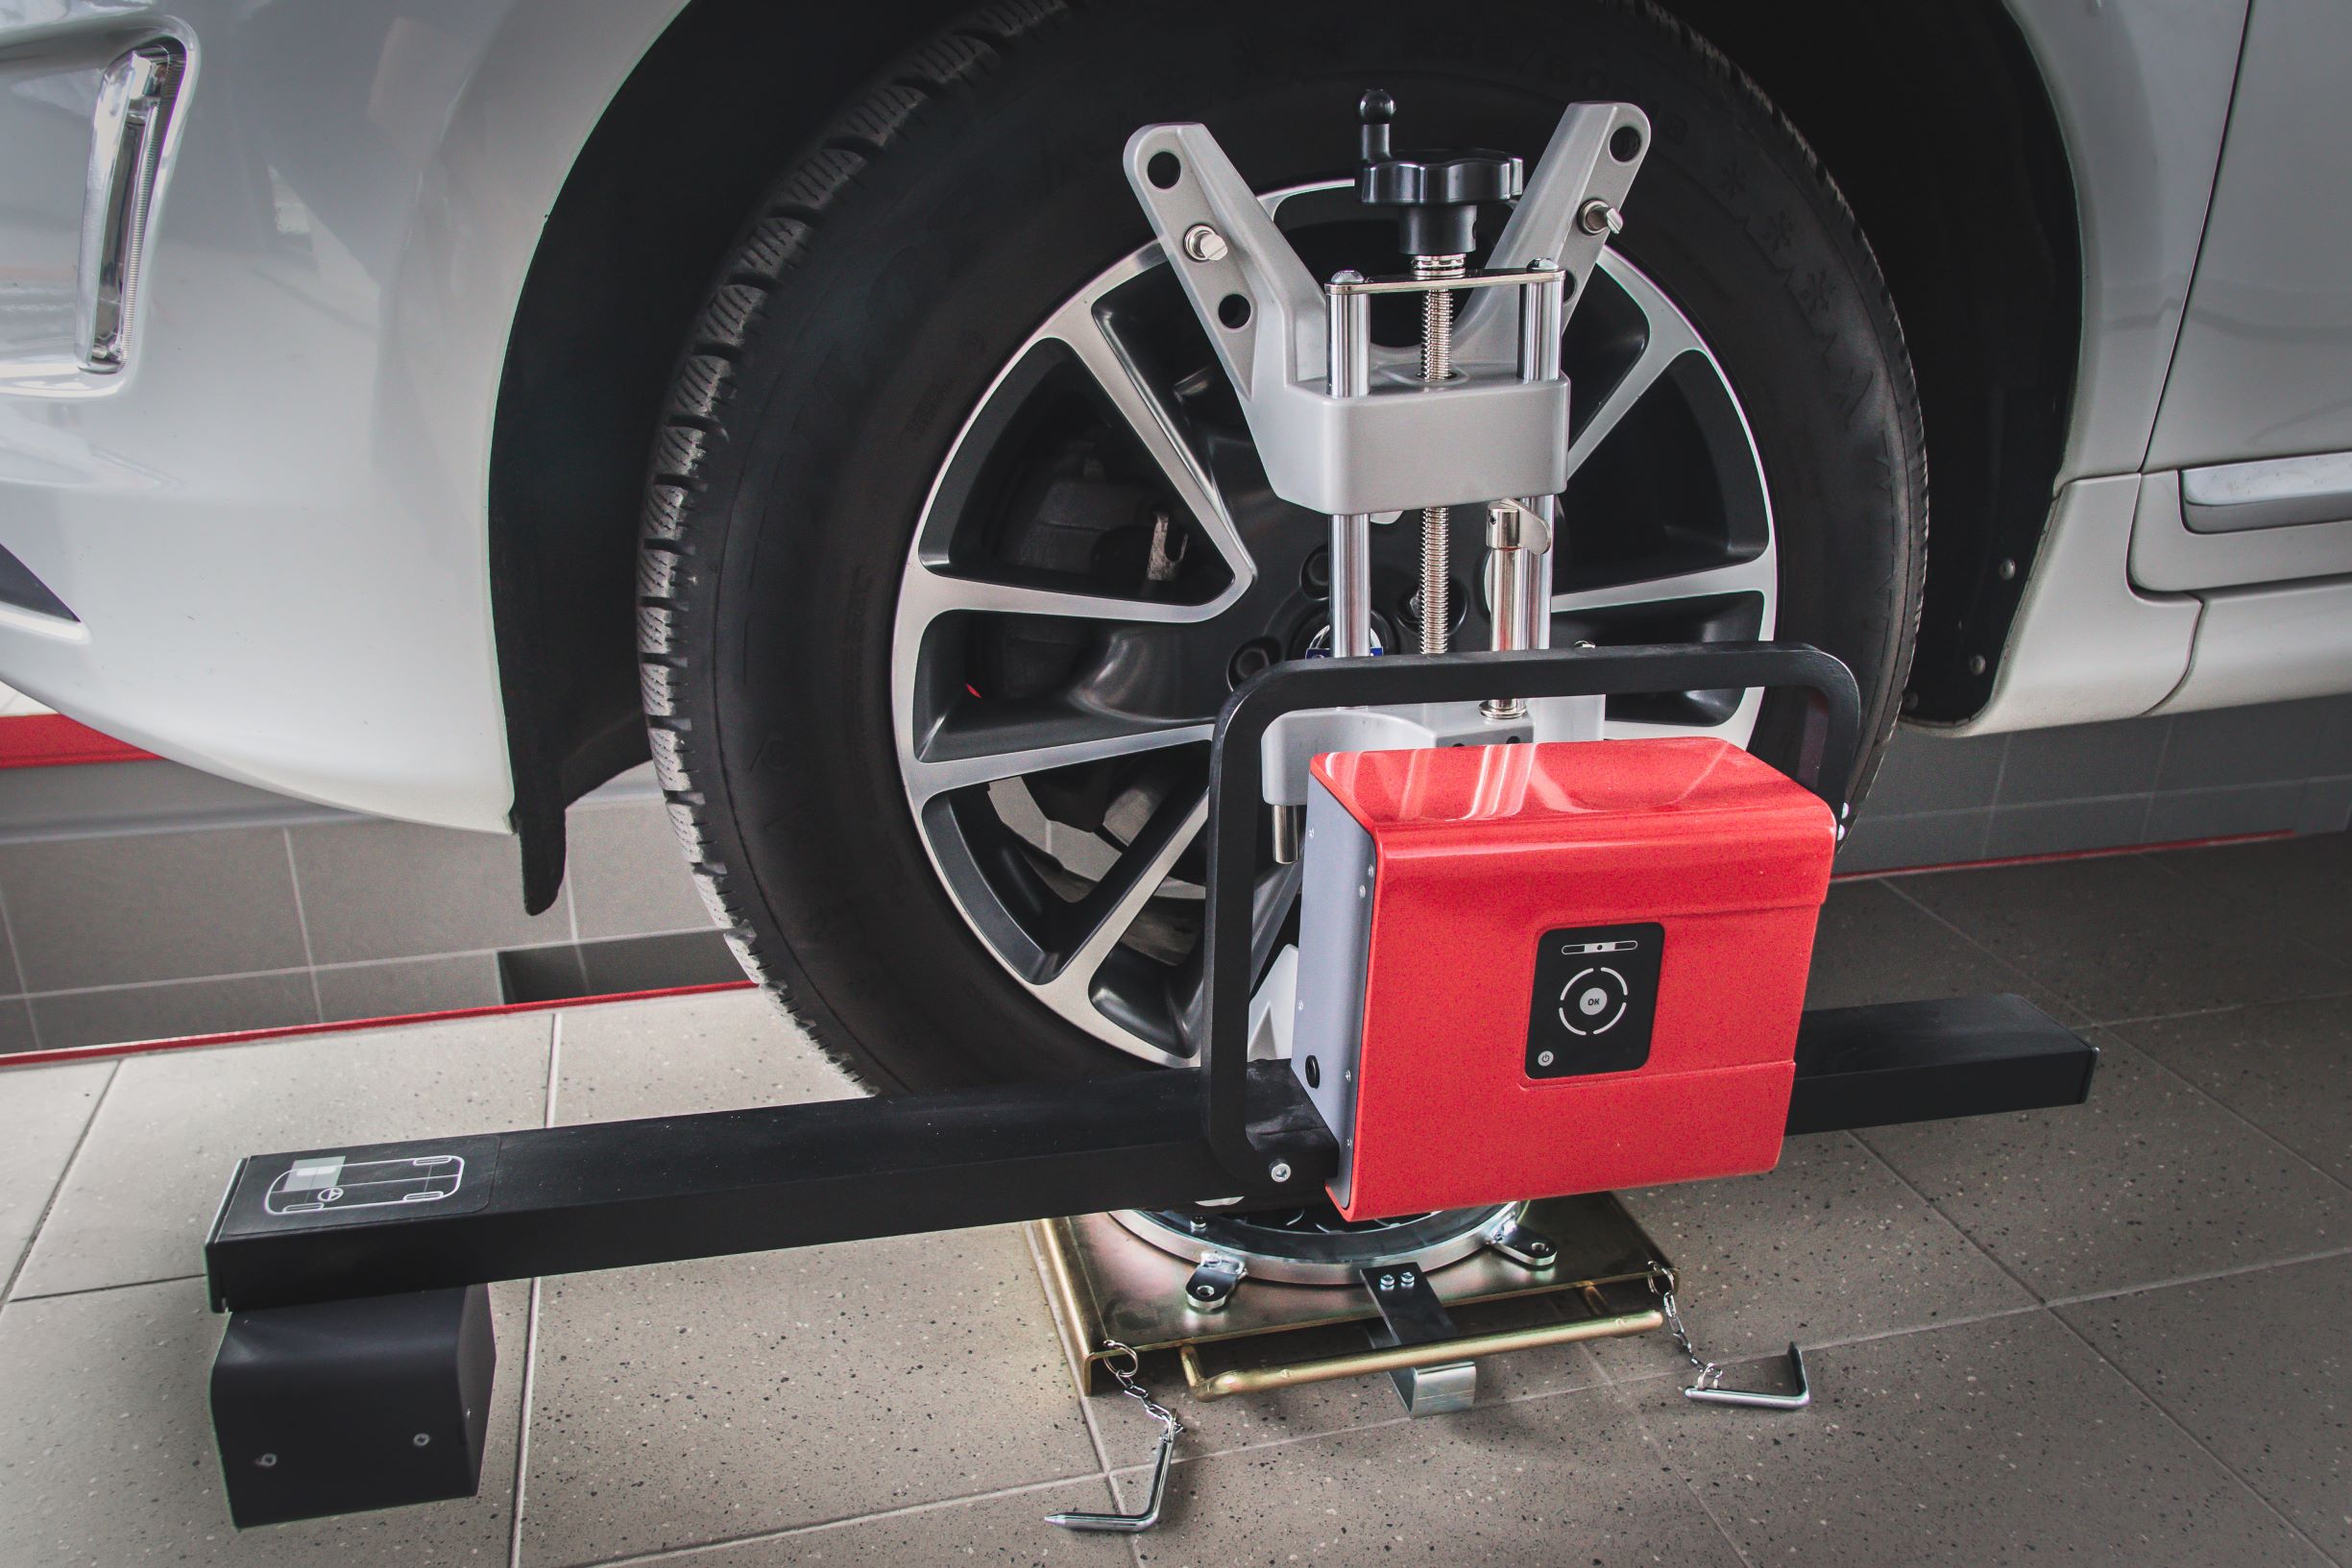
The device has 4 measuring active heads. The active heads use measurement technology based on, among other things, 4 CCD cameras. Communication of the heads with the computer and heads power supply is wireless.
COMES G-Car 8.0 is a device that takes measurements in relation to the geometrical axis of the vehicle.
COMES G-Car 8.0 is a device designed and manufactured in Poland. -
• A complete, computerized CCD device for measuring wheel and axle alignment of vehicles with GVWR up to 3.5 t.
• Measuring heads equipped among other things with electronic two-axis inclinometers for measuring vertical angles and high-resolution CCD sensors/cameras for measuring horizontal angles of the vehicle.
• Battery-powered (wireless) power supply for measuring units.
• Wireless radio communication between measuring units and the central processing unit.
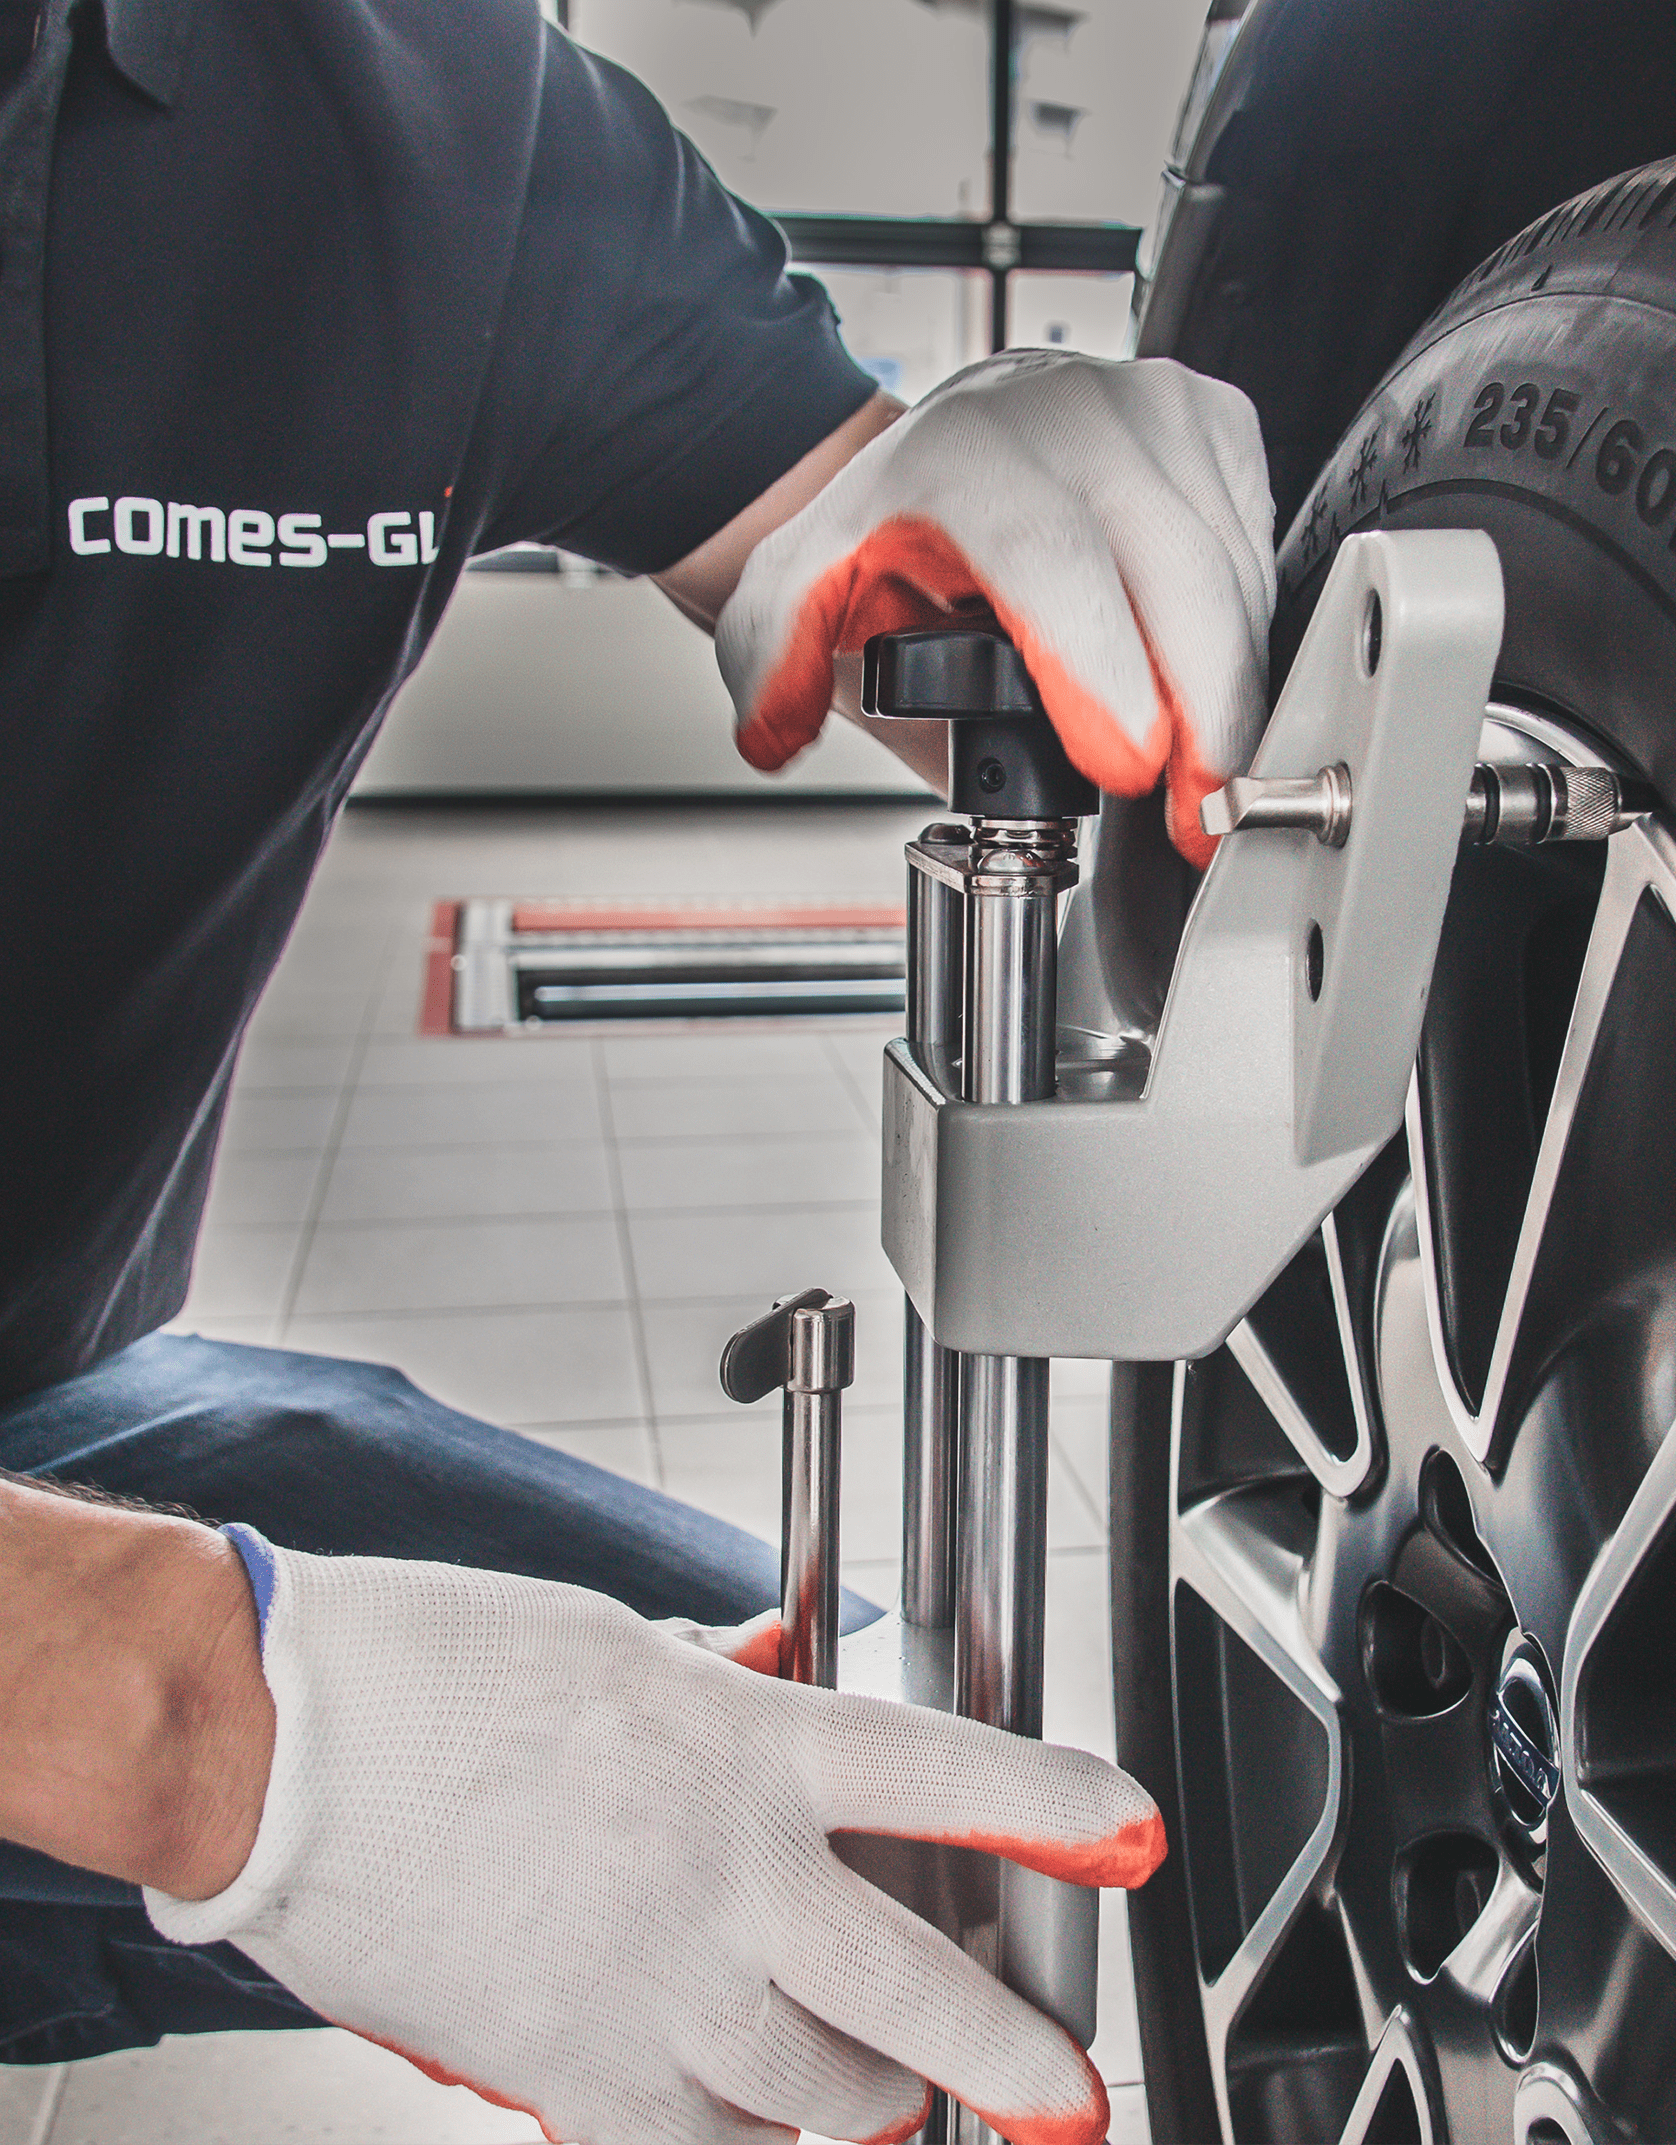
• Wheel clamps for mounting on rims with a diameter range from 11′” to 25″.
• Intuitive measurement program on PC, guiding the operator step by step and:
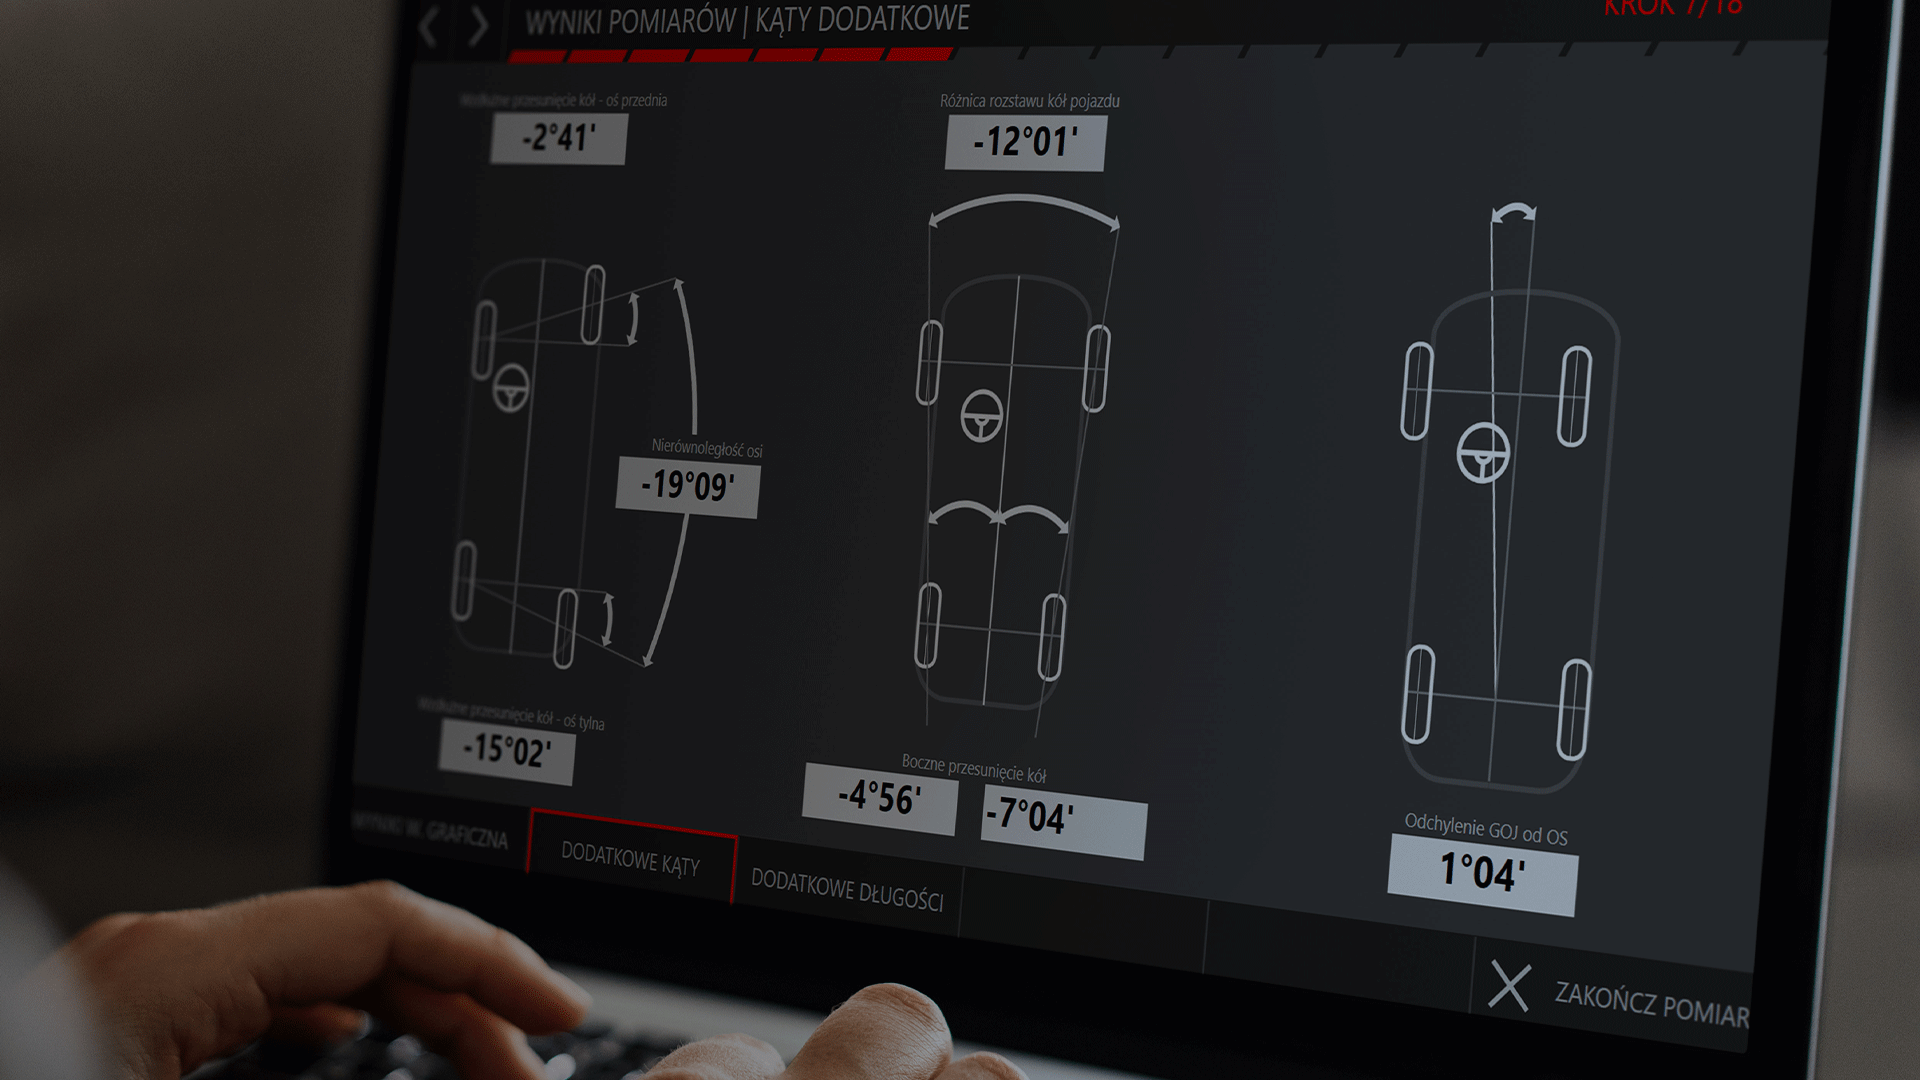
– displaying the entire measurement and adjustment process on screens, presenting the parameters measured in real time, creating measurement reports and allowing measurement results archiving,
– presenting the results in a tabular and graphical way, clearly illustrating the position of the wheels and axles of the vehicle,
– generating a measurement protocol that includes customer and vehicle data, factory data, as well as pre- and post-adjustment data,
– with a choice of 4 operating modes, enabling optimization of working time and configuration of measurement activities according to the needs of the operator,
– with the function of toe adjustment with turned and unloaded (raised) wheels,
– equipped with an extensive database compatible with Auto-Data.
• Wheel runout compensation is achieved by turning the raised wheels as well as by rolling the vehicle.
• High practicality of the device due to the possibility of using a portable laptop computer, which provides visualization of measurement results in any place in the vicinity of the tested vehicle.
• A mobile cabinet for easy movement of the device.
• Measuring heads have an ergonomic handle for easy installation and handling.
• Vehicles with a wheelbase of up to 5 meters can be measured.
• It is possible to use an extension for the monitor.
• The device can be used both on a service pit station and a diagnostic lift, in a workshop or at a Vehicle Inspection StationCOMES G-Car 8.0 is a device designed and manufactured in Poland.
The device has an ITS (Motor Transport Institute) certificate (No. Z15/022/23), confirming the possibility to use the device at the Vehicle Inspection Station.
The G-Car 8.0 device allows you to measure the following parameters:
• Total Toe
• Individual wheel toe
• Toe-in Difference
• Camber angle
• Camber angle difference
• Kingpin inclination of the front axle
• Caster angle of the front axle
• Difference in steering angles of the front axle wheels
• Maximum steering angle of the front axle wheels
• Deviation of the geometrical driving axis from the axis of symmetry / wheel trace
• Longitudinal offset of the front and rear axle wheels
• Lateral wheel offset for left and right sides
• Axle non-parallelism / wheelbase difference -
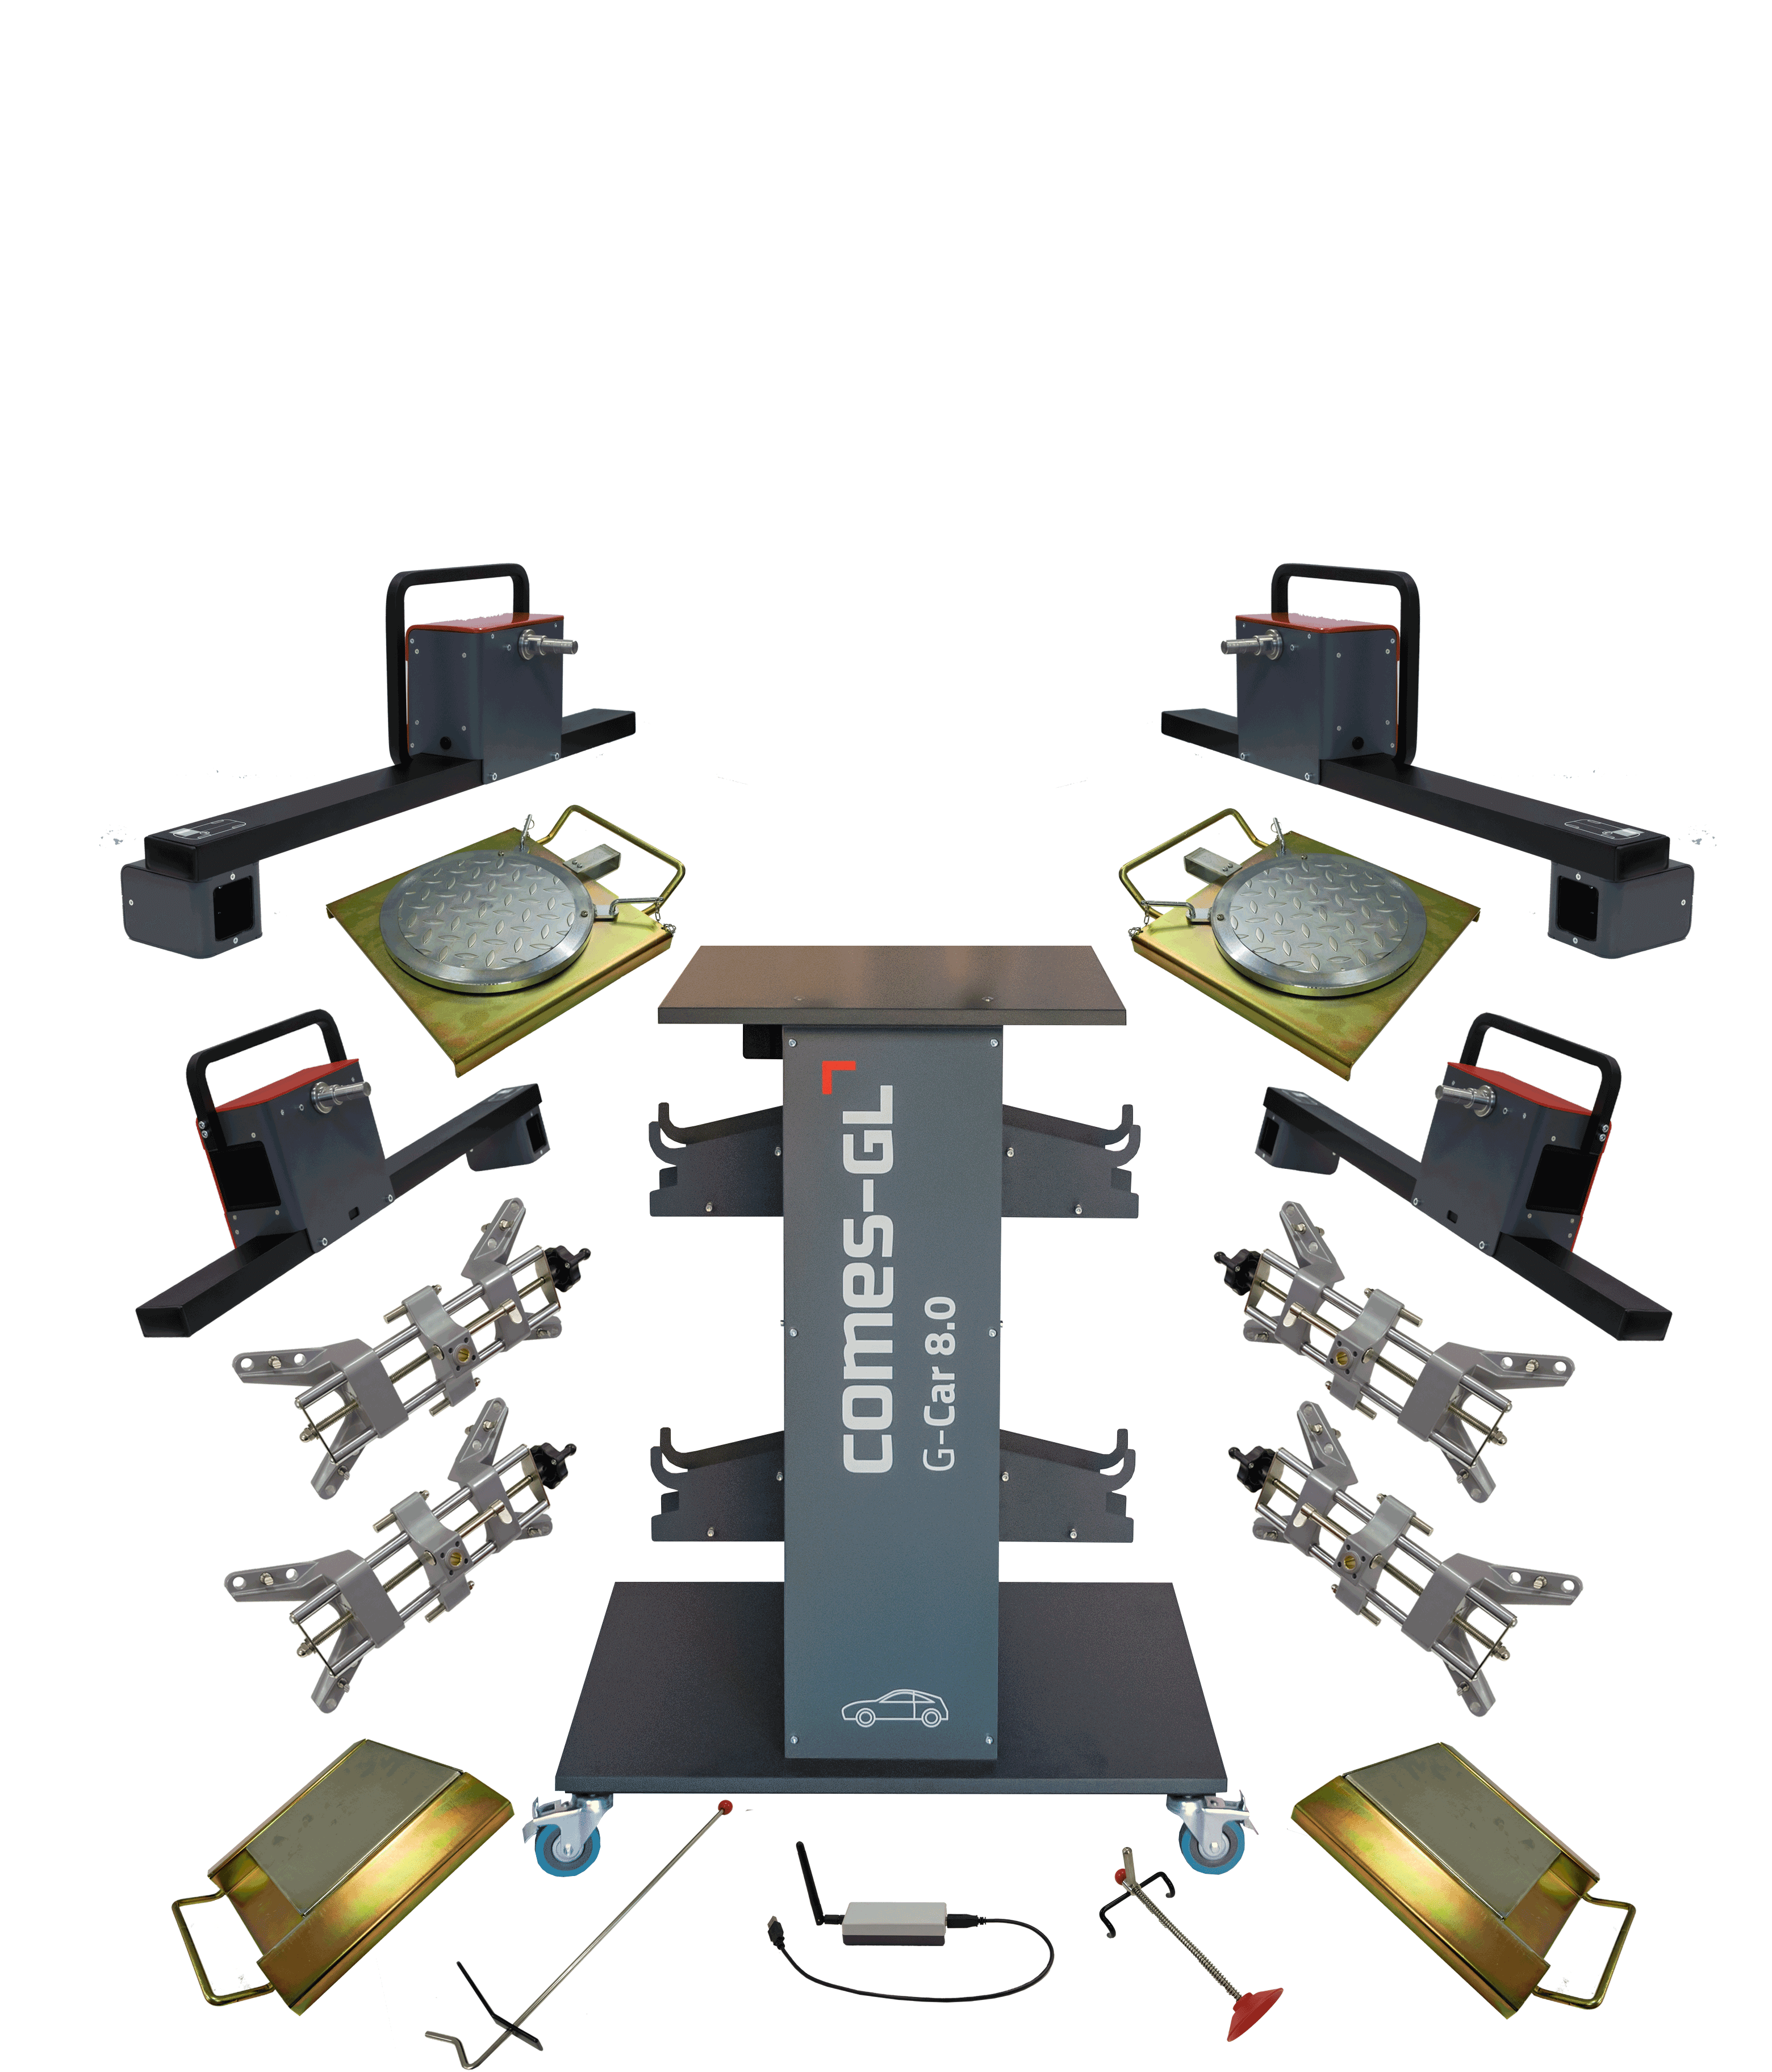
Equipment of the COMES G-Car 8.0 * Quantity Active wireless measuring heads 4 Control module (for cooperation between heads and PC) 1 Wheel clamps, range 11"-25" 4 Steering wheel lock 1 Brake pedal lock 1 Turntables 2 Expansion plate for rear wheels 2 Mobile cabinet 1 PC software 1 User Manual 1 Laptop / PC Kit 1 Monitor extension 1 * Equipment dependent on set / order
Basic measuring ranges
Technical Parameters Total Measuring Range Total toe (front axle / rear axle) ±30° Individual toe (front axle / rear axle) ±15° Camber angle ±30° Kingpin inclination ±30° Caster angle ±30° Deviation of the geometrical driving axis from the axis of symmetry ±15° Longitudinal wheel offset (front axle / rear axle) ±15° Wheelbase difference ±30° Scope of application of the instrument
- Wheel track of test vehicles 1000 – 2500 mm
- Wheelbase of test vehicles 1000 – 4700 mm
- Wheel rim diameter of test vehicles from 11” to 25”
- Permissible wheel pressure on the turntable 10 kN


